
When a new client lands, what’s the next thing you do?
If your answer is “send a welcome email” or “jump straight into mockups”, you’re skipping the most important part, onboarding.
Without a clear client onboarding process, you end up dealing with unclear goals, and worst of all, disappointing the client before the real work even begins.
This is where a solid client onboarding checklist becomes your best tool. It keeps you organized, sets expectations, and shows clients you know what you’re doing from day one.
In this guide, you’ll get a step-by-step system built for freelance web designers, plus how tools like ZipWP can help you onboard faster and smarter.
Let’s start onboarding clients.
1- Pre-Onboarding

Let’s say you just got an email from a local business owner. They want a website to sell handmade shoes online.
Sounds exciting, right? But before jumping on a call or opening your design tool, take a moment. This is where your client onboarding checklist starts, not after a contract is signed.
At this point, it’s less about the client and more about how ready you are.
If you have the right tools and systems in place, you’ll come across as a professional.
Here’s what to have ready before onboarding begins:
Checklist:
- Branded client onboarding form: Ask smart questions upfront, like “Do you have product photos?” or “Do you need payment integration?” to gather useful info from the start.
- Pre-written email templates: Save time and respond fast with a polished welcome email, plus links to your portfolio or similar projects.
- Project management tool setup: Create a reusable workspace in Trello or Notion that auto-generates tasks or folders when a form is submitted.
- Portfolio or mockup showcase: Prepare a few examples tailored to retail or eCommerce to build trust during the first client interaction.
2. Initial Consultation and Discovery

You’ve responded to the inquiry and booked a quick call with your potential shoe store client. Now it’s time to listen.
This part of the client onboarding checklist is all about understanding their goals, challenges, and expectations. No need to pitch your ideas yet. Instead, ask smart, open-ended questions that help you get the full picture.
Maybe they’ve been selling through Instagram and want a proper eCommerce setup. Maybe they want a custom size guide, or filters for product types. The more you know now, the better decisions you’ll make later.
Capture everything with a detailed client onboarding form.
Checklist:
- Conduct a discovery call: Ask what the site should achieve, who the target customer is, and what challenges they’re facing.
- Discuss competitors and desired features: Get examples of sites they like or dislike, and note any must-have features or functions.
- Clarify success metrics and timeline: Define what success looks like in 3 months and confirm when they expect the site to launch.
3. Contract and Payment

Your discovery call with the client went great. They’re excited to get started, and so are you. But before jumping into design, this is where you hit pause and protect the project with a written agreement.
Skipping this step is a common mistake for new designers. Without clear terms, you risk unpaid invoices, scope creep, or confusion over revisions.
Now is the time to send a detailed proposal and contract. Lay out everything: what’s included, what’s not, how feedback will work, and when payments are due.
Tools like Bonsai or DropBox make signing simple, and Stripe or Wise handle payments smoothly.
Getting this right builds trust, sets clear expectations, and saves you from headaches later in the client onboarding process.
Checklist:
- Send a proposal and contract: Outline the scope, number of pages, features, platform, revision rounds, and what counts as extra work.
- Define payment terms clearly: Break down costs by milestones or phases, and include due dates for deposits and final payments.
- Use reliable tools: Use platforms like DropBox for digital contracts and Stripe or Wise to request and track payments.
4. Collect Assets

This is where many freelance web projects slow down. You’re ready to build, but your new client still hasn’t sent the basics, logos, photos, or content.
Let’s say your shoe store client is excited but hasn’t shared any files yet. Without a system, delays are almost guaranteed.
The fix? Be proactive right after the contract is signed. Send a clear checklist of what you need, when you need it, and where to upload it.
You can use a client onboarding form, a shared Google Drive folder, or tools like Notion to keep everything organized.
Checklist:
- High-resolution logo and brand colors: Ask for vector files (like .AI or .SVG) and any brand style guides they already use.
- Product photos with details: Request high-quality images and include a format for product names, sizes, and prices.
- Written content for key pages: Start with homepage copy, About section, and a few sample product descriptions if available.
- Hosting, domain, or CMS access: Get login details early so there’s no delay when it’s time to connect the site.
5. Set Expectations and Timeline
Now that your client has signed the contract and sent over their assets, it’s time to lay down the ground rules. This step in the client onboarding checklist helps you avoid scope creep, miscommunication, and unnecessary stress.
Let’s say your client assumes the site will be ready in two weeks, but your standard timeline is four. If you don’t clarify that now, you’re setting yourself up for frustration.
Take a few minutes to walk them through what happens next. Share a welcome packet or onboarding doc that explains your process in plain terms.
This helps you look professional and makes your client feel informed from day one.
Checklist:
- Share an onboarding document: Outline how your process works, what comes next, and how they can reach you.
- Set communication preferences: Let them know if you’ll be checking in via email, Zoom, or Slack, and how often.
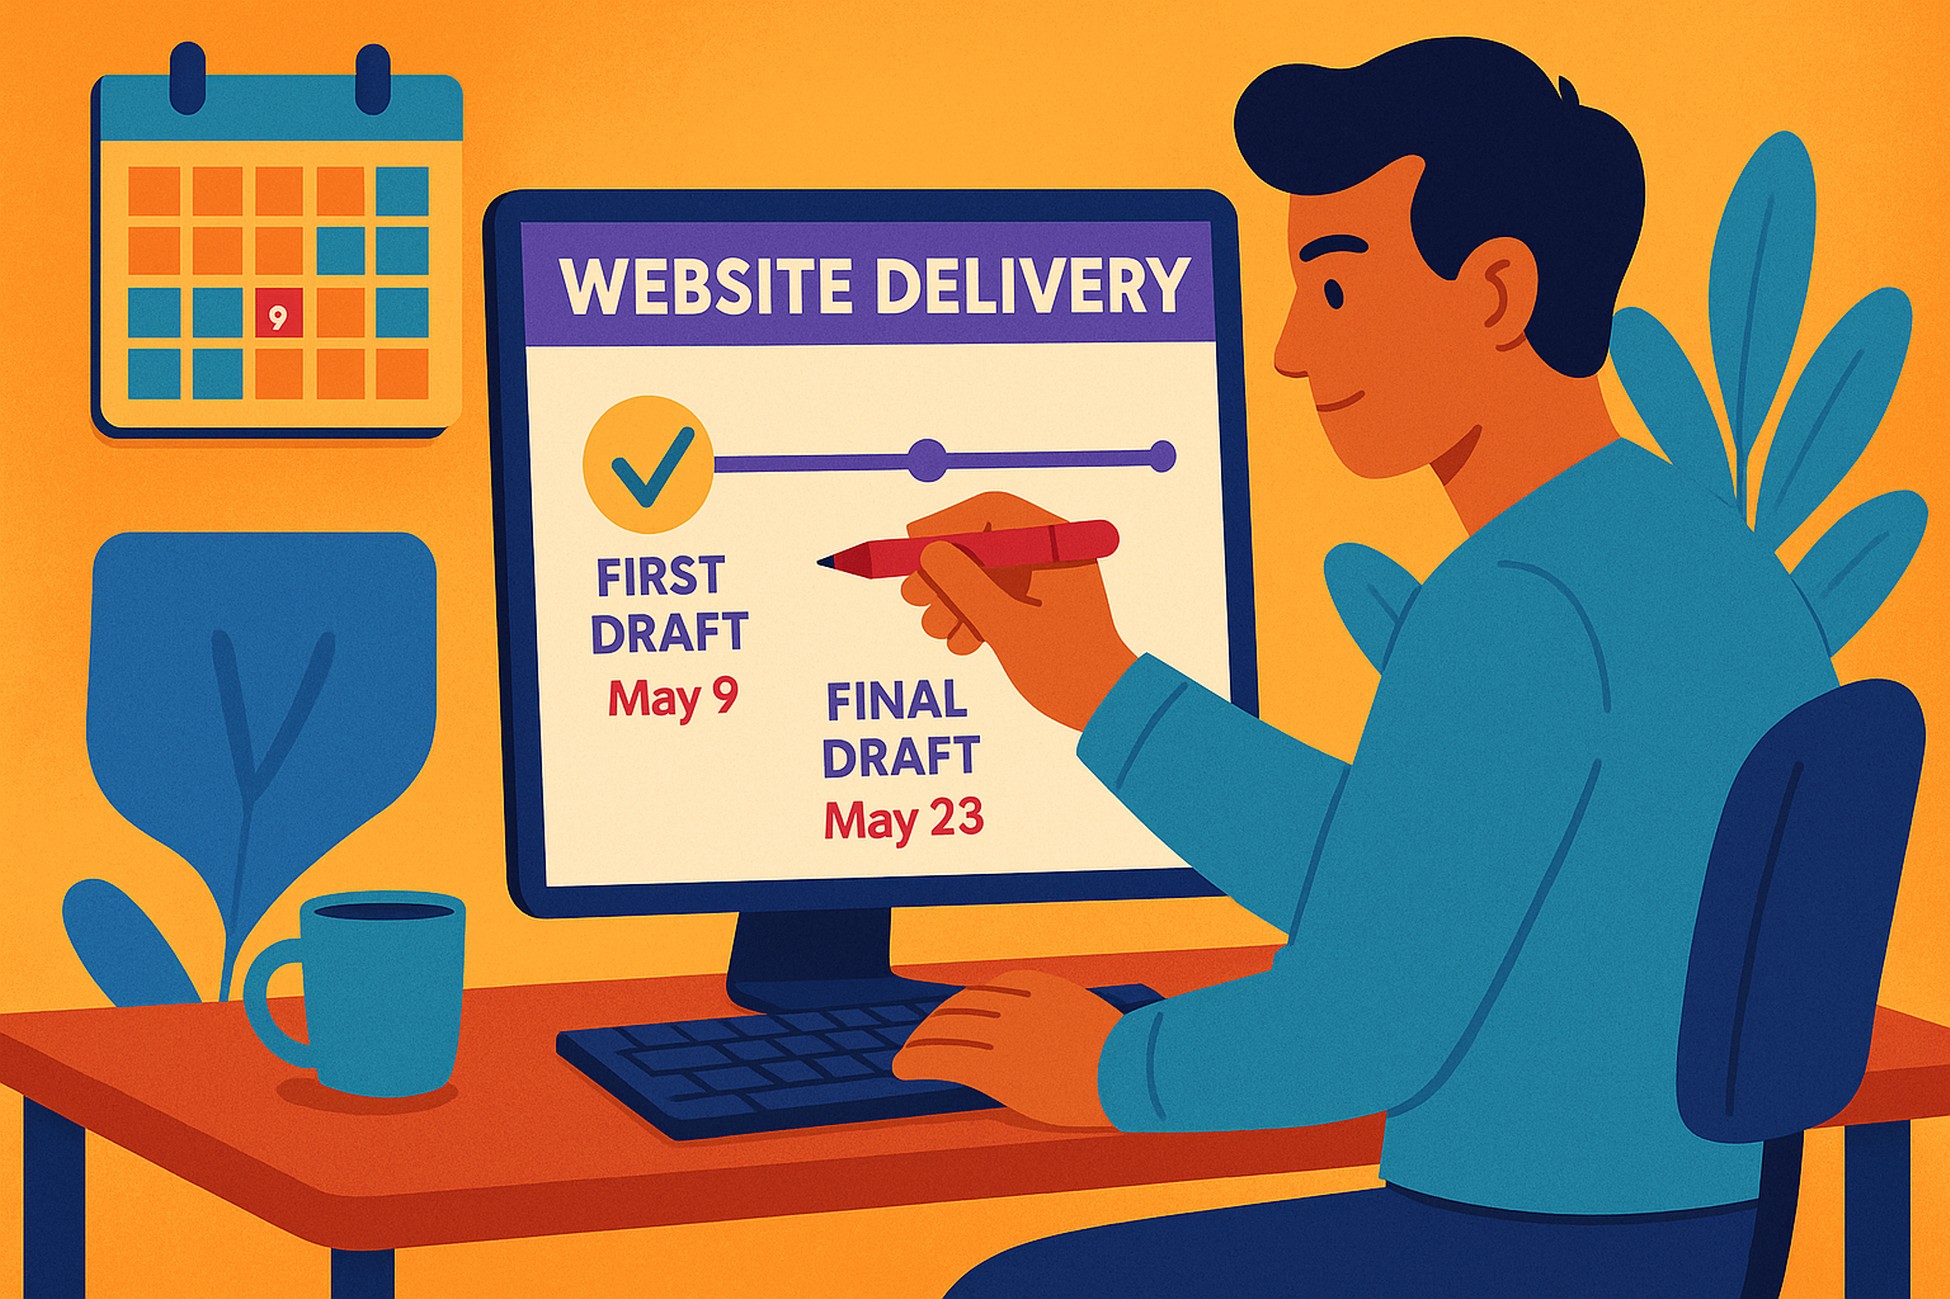
- Confirm key delivery dates: Clearly state when they can expect drafts, revisions, and the final launch.
- Define feedback and revision limits: Be upfront about how many revision rounds are included and how feedback should be shared.
Setting expectations early helps you build trust, keep projects on track, and avoid tough conversations later. To go deeper, check out this guide on managing web design clients.
6. Project Planning

Once your client has shared their content and expectations, it’s time to move from ideas to structure. This part of your client onboarding checklist lays the foundation for everything that follows.
Let’s say your shoe store client wants a clean, modern website with seasonal collections, size filters, and customer reviews. Your job now is to organize those needs into a clear plan.
Checklist:
- Create a sitemap or page list: List all key pages like Home, Shop, About, Contact, and Size Guide. This gives the project structure from the start.
- Sketch basic wireframes: Map how each page will be laid out. For example, the homepage could start with a hero image, then feature product categories and reviews.
- Choose your tech stack: Decide whether to use WordPress with WooCommerce, Shopify, or another platform based on the client’s goals and your workflow.
- Build a timeline with key dates: Set realistic deadlines for design drafts, client feedback, revisions, and launch.
This step connects your onboarding process to purposeful execution. If you want to streamline your toolset, this web design toolkit includes essentials that save time without cutting corners.
7. Kickoff: Make It Official
This is where your client onboarding checklist shifts from prep to action. Everything’s ready, content, expectations, timeline, and now it’s time to officially start the project.
For your shoe store client, this moment builds trust. They’ve invested in you, and your kickoff sets the tone for what’s ahead.
Send a brief kickoff email or video to walk them through the plan. Remind them what’s been done, what comes next, and when to expect updates. For example, “Week 1 is homepage design. Week 2 is product pages.”
This is also the time to guide them on how feedback works, where to check progress, and how communication will flow.
Checklist:
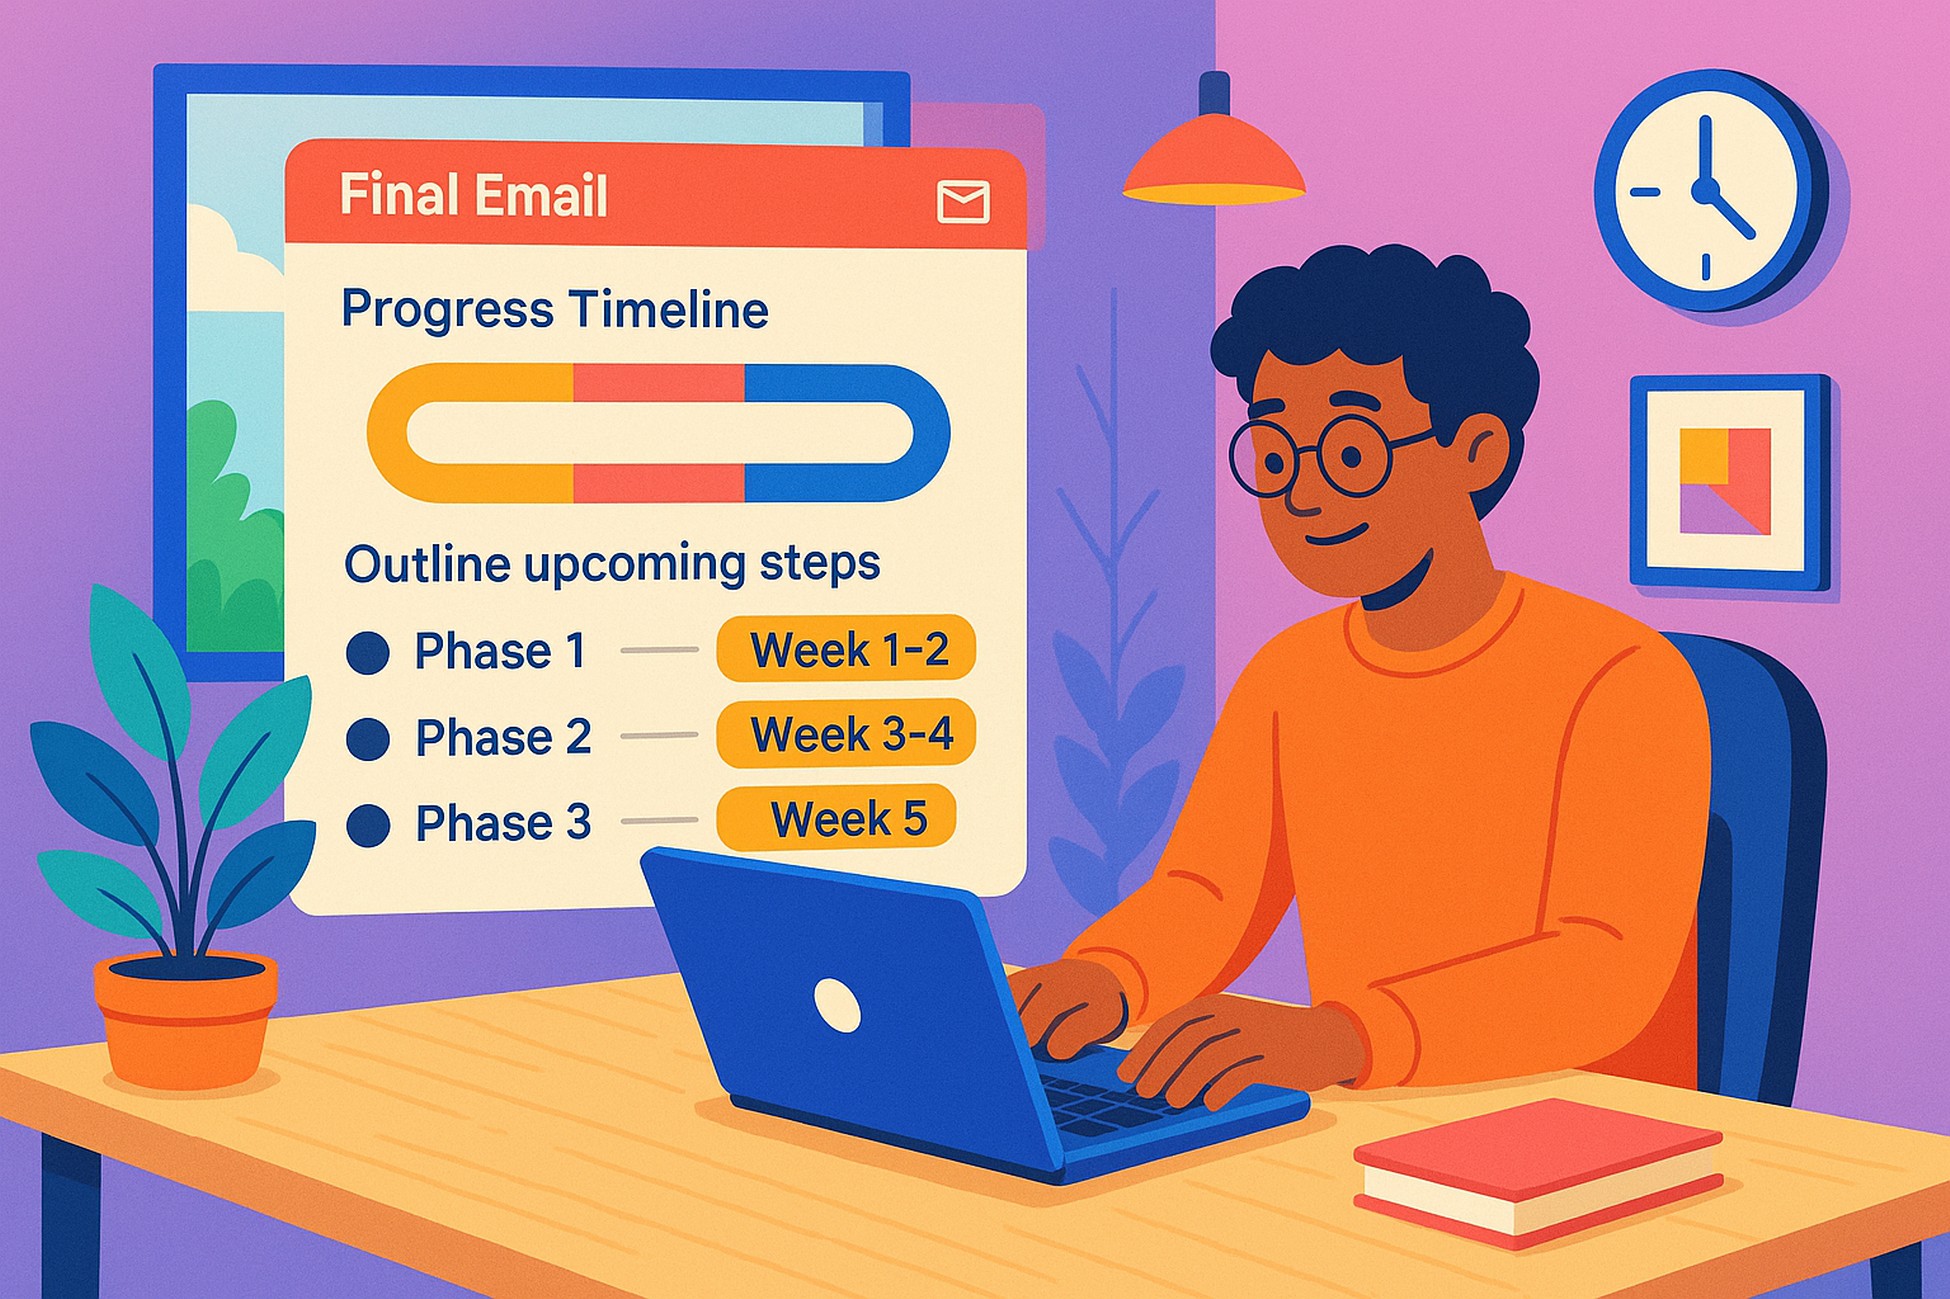
- Send a kickoff email or video message: Recap progress, outline upcoming steps, and confirm timelines for each phase.
- Share the project timeline: Use Trello, ClickUp, or Notion and give the client access so they can follow progress without needing updates.
- Explain the feedback process: Let them know when and how to give feedback, and what happens after approval.
- Add a personal touch: A short line like “Excited to build your store!” helps set a warm, collaborative tone.
At this point, you’re no longer onboarding. You’re building.
Visual Checklist (Download or Save)
To get you started, we’ve created a downloadable client onboarding checklist.
Onboard Clients Instantly with ZipWP
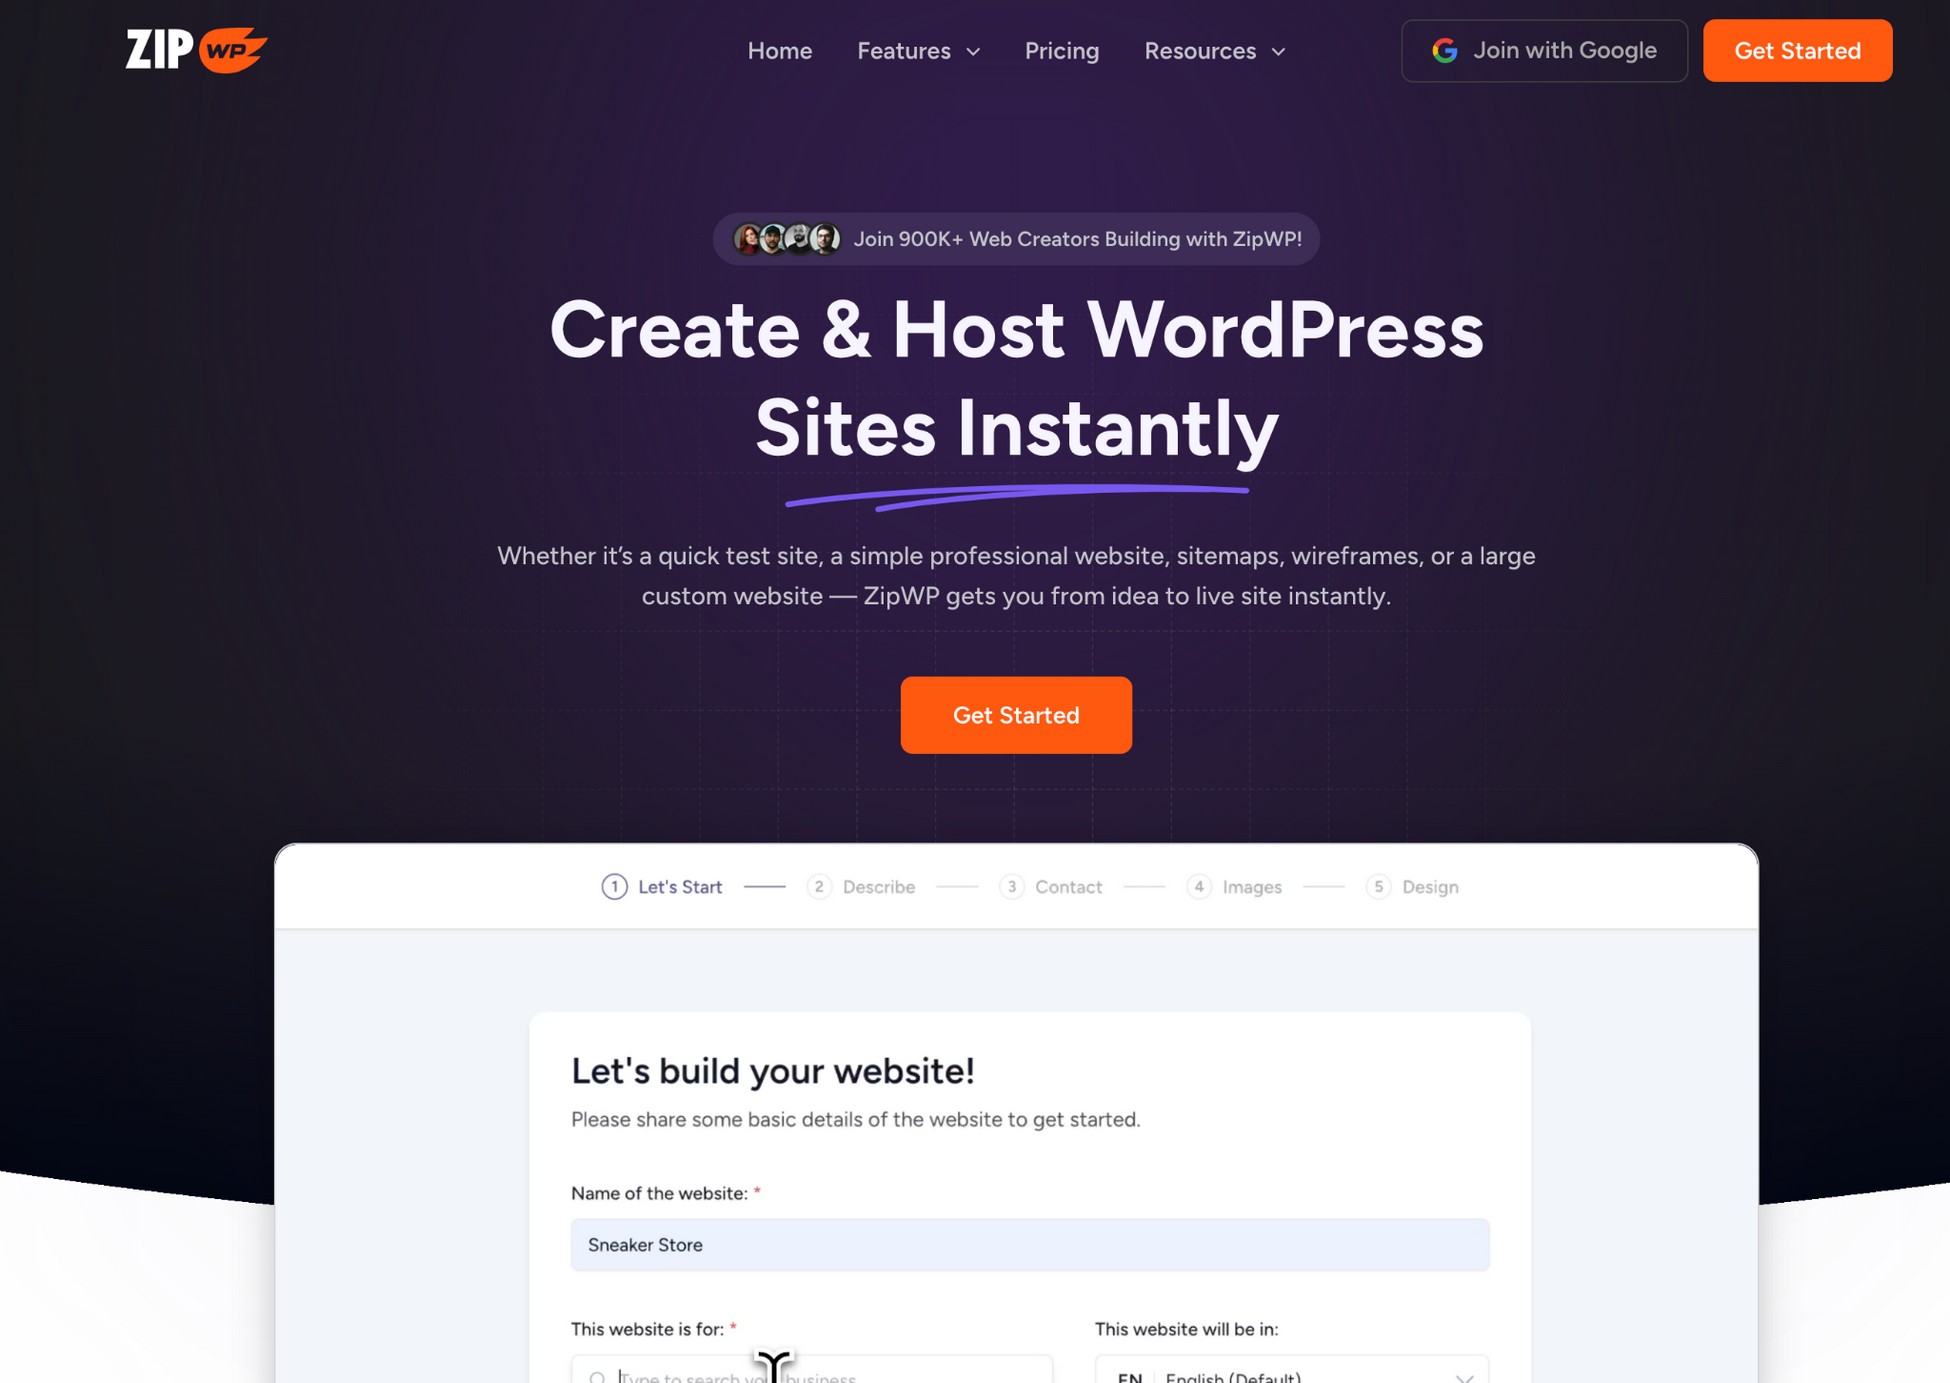
If you want to streamline your client onboarding checklist and impress new clients from day one, ZipWP is the tool to keep in your corner.
It cuts hours, or even days, from your process by helping you move faster and smarter at every stage:
- During discovery: Use ZipWP’s AI Site Planner to turn your discovery call notes into a clear page flow. This saves you from manually sketching a structure later.

- After collecting assets: The AI Website Builder pulls together layouts, images, and text using your client’s content. You get a working draft in minutes, not days.

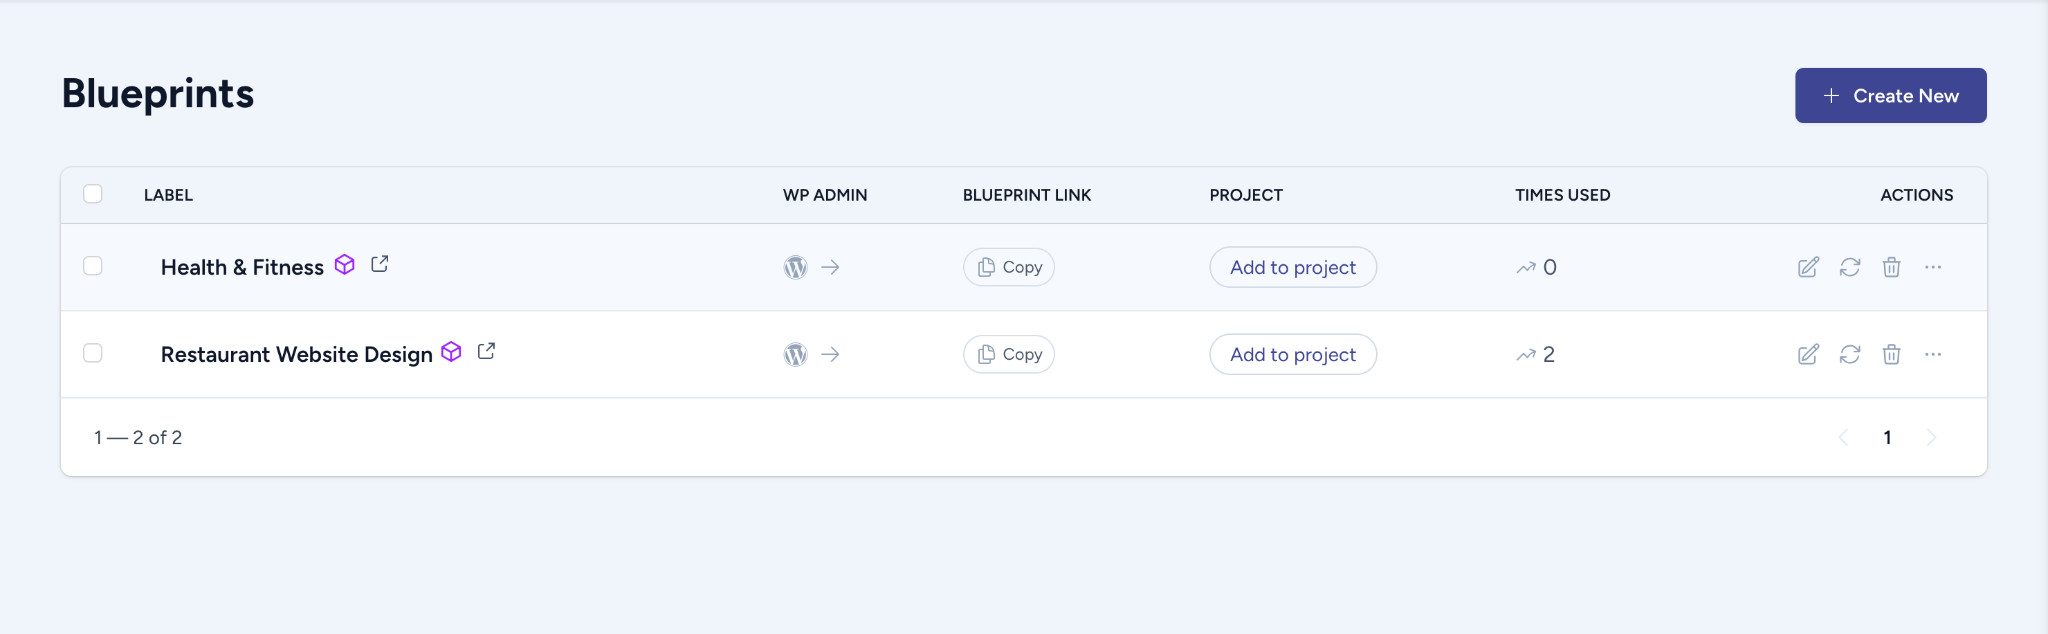
- While planning: Skip the blank canvas. Start with Site Blueprints built for industries like eCommerce, coaching, or SaaS. They’re perfect for guiding layout and feature decisions.
- For approvals and previews: Share layout ideas early using ZipWP’s Chrome Extension and custom subdomains. Clients can preview your work instantly, no waiting, no setup delays.
With ZipWP, your client onboarding process feels professional, predictable, and fast.
Final Thoughts
Client onboarding doesn’t have to be stressful. With this checklist, you can deliver a consistent, polished experience every time. Whether you’re juggling multiple projects or just getting started, a clear process will save you time and sanity.
If you’re building a sustainable freelance business, systems like this are key. This guide on structuring your web design business shows how to scale what’s already working.
ZipWP helps you move even faster. From intake to launch, it removes the guesswork from design.
Start using this onboarding checklist today. Customize it, automate parts of it, and grow with confidence.
Ready to streamline your onboarding? Try ZipWP and impress every new client from day one.
FAQs
Join 931,900 Subscribers
Disclosure: This blog may contain affiliate links. If you make a purchase through one of these links, we may receive a small commission. Rest assured that we only recommend products that we have personally used and believe will add value to our readers. Thanks for your support!
Recommended Articles
Empower Your Influence & Content With ZipWP Blueprints!
Let People Test Drive Your WordPress Products with ZipWP Blueprints!